Centos安装oracle 11g R2详解
安装所需要的组建环境
yum install gcc libaio libaio-devel libstdc++ libstdc++-devel libgcc elfutils-libelf-devel glibc-devel glibc-devel gcc-c++ compat-libstdc++-33 unixODBC unixODBC-devel
Oracle安装还需要一个必要的rpm包,pdksh-5.2.14-37.el5_8.1.x86_64,解压rpm -ivh安装即可。
创建oinstall组
groupadd oinstall
创建dba组
groupadd dba
创建oracle用户
useradd -g oinstall -G dba oracle
修改oracle用户的密码
passwd oracle (设立会提示输入自己的密码)
vi /etc/sysctl.conf
#在文件末尾添加以下内容
fs.aio-max-nr = 1048576
fs.file-max = 6815744
kernel.shmall = 2097152
kernel.shmmax = 536870912
kernel.shmmni = 4096
kernel.sem = 250 32000 100 128
net.ipv4.ip_local_port_range = 9000 65500
net.core.rmem_default = 262144
net.core.rmem_max = 4194304
net.core.wmem_default = 262144
net.core.wmem_max = 1048586
#刷新参数
sysctl -p
vi /etc/security/limits.conf
#在文件末尾添加以下内容
oracle soft nproc 2047
oracle hard nproc 16384
oracle soft nofile 1024
oracle hard nofile 65536
oracle soft stack 10240
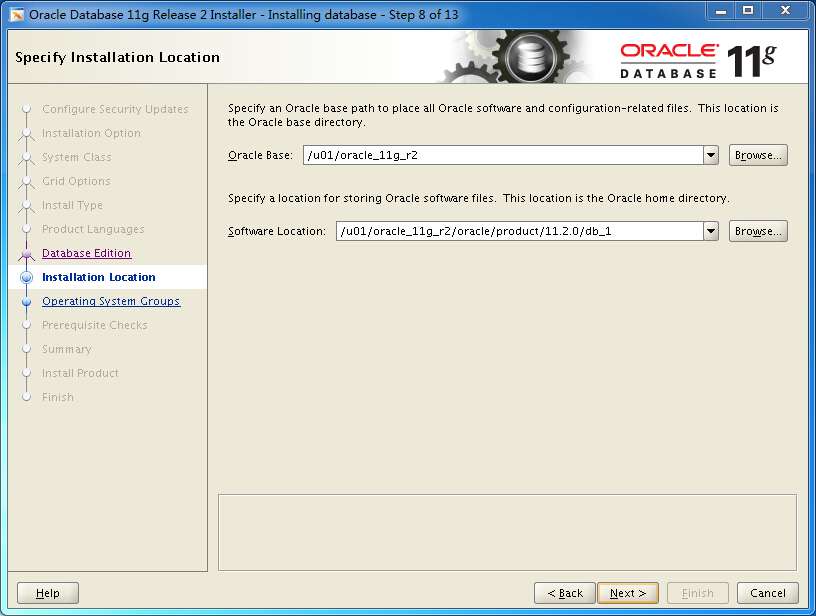
需要注意的是,如果想自己改变目录安装,记得将所有/u01 改成自己的目录即可。建议安装在/home/data下。
#创建安装Oracle软件所需要的目录
mkdir -p /u01/oracle_11g_r2
chown -R oracle:oinstall /u01/oracle_11g_r2
chmod -R 775 /u01/oracle_11g_r2
#日志目录
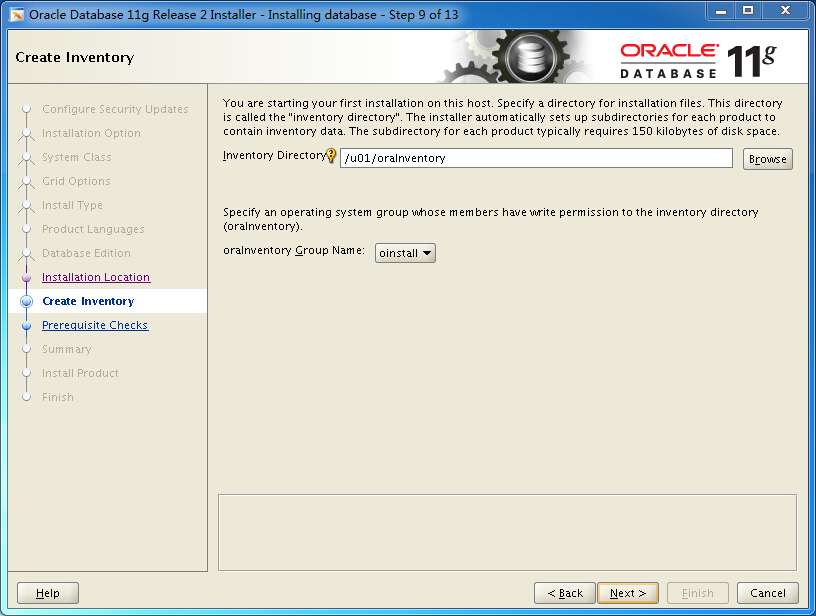
mkdir /u01/oraInventory
chown -R oracle:oinstall /u01/oraInventory/
chmod -R 775 /u01/oraInventory/
vi /home/oracle/.bash_profile
#在文件末尾添加以下内容
umask 022
export ORACLE_BASE=/u01/oracle_11g_r2
export ORACLE_HOME=$ORACLE_BASE/oracle/product/11.2.0/db_1
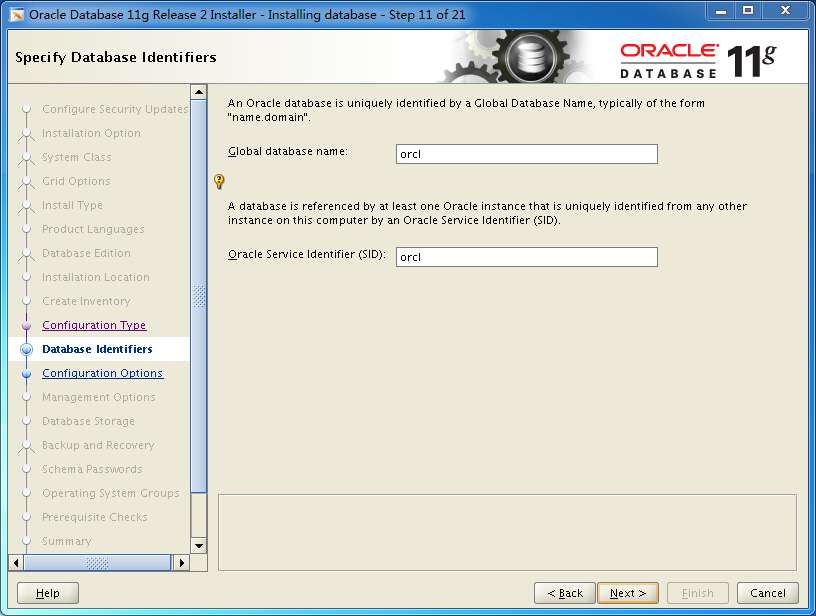
export ORACLE_SID=orcl
export PATH=$PATH:HOME/bin:$ORACLE_HOME/bin
vi /etc/pam.d/login
#在文件末尾添加以下内容
session required /lib/security/pam_limits.so
session required pam_limits.so
vi /etc/profile
#在文件末尾添加以下内容
if [ $USER = "oracle" ]; then
if [ $SHELL = "/bin/ksh" ]; then
ulimit -p 16384
ulimit -n 65536
else
ulimit -u 16384 -n 65536
fi
fi
#刷新参数
source /etc/profile
以上工作做好以后,现在就可以开始来安装oracle数据库了。
xhost +
su - oracle
#进入到数据库安装程序目录database,并运行安装脚本,安装过程如下:
./runInstaller
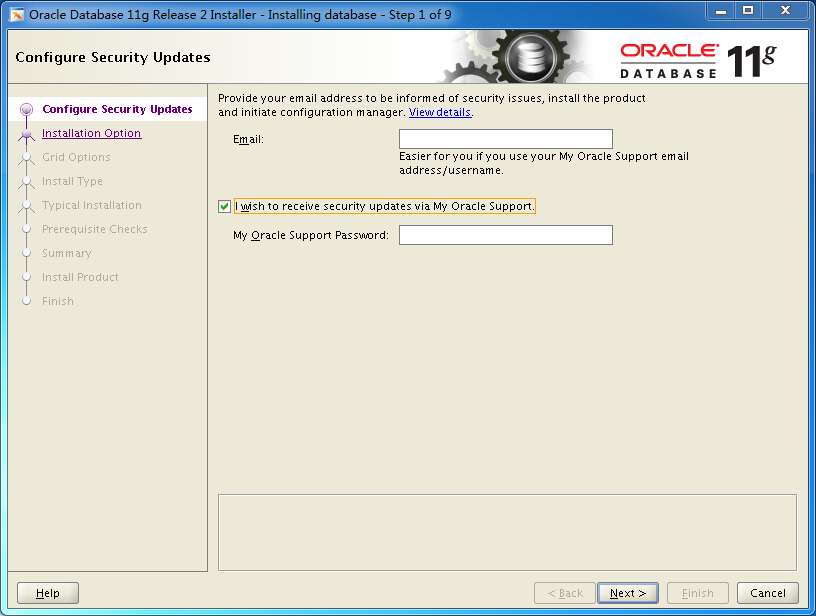
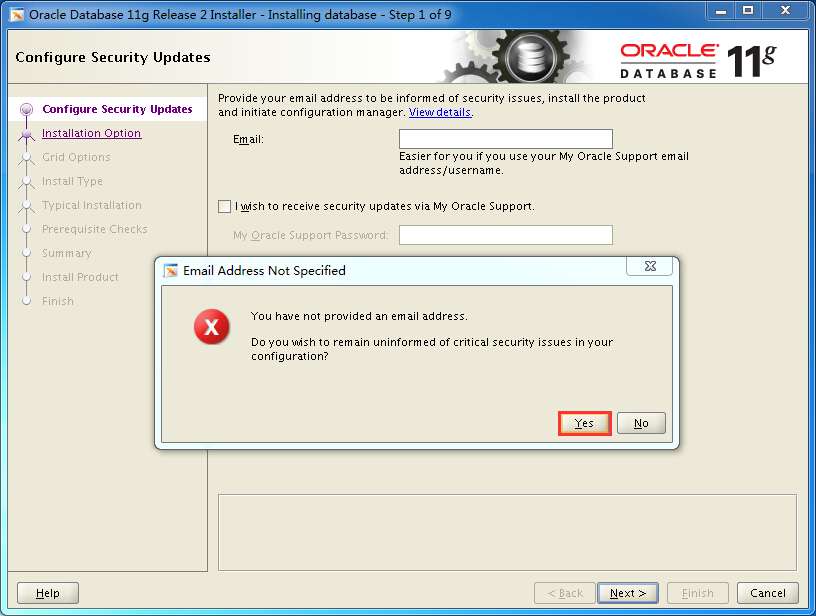
填写email,可跳过
yes
next

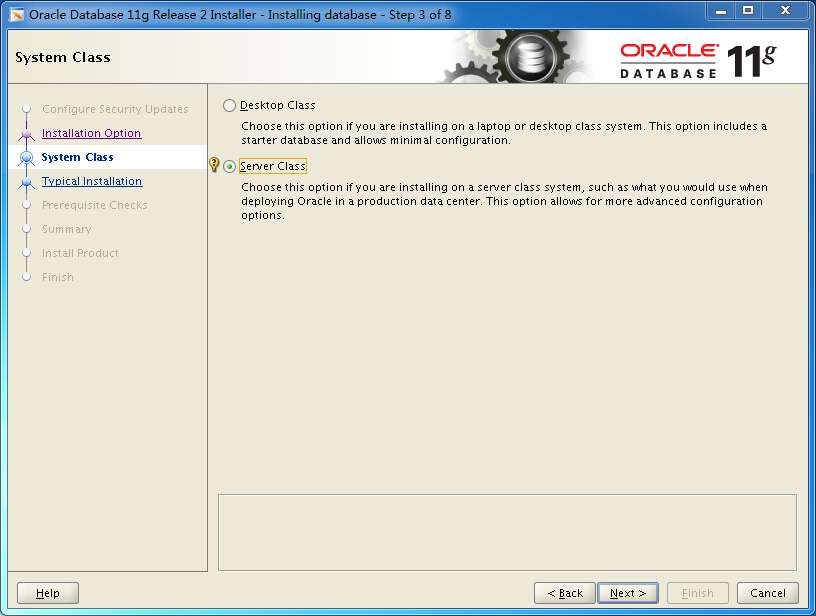
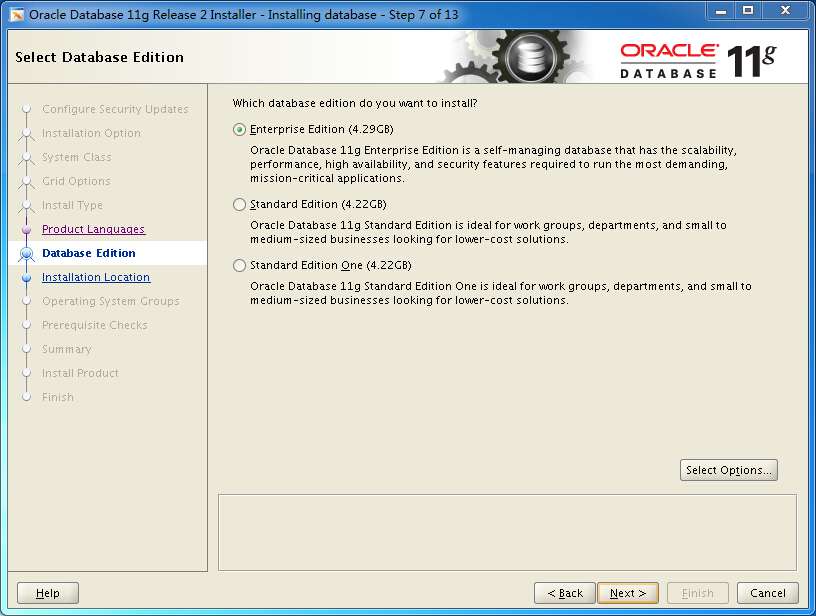
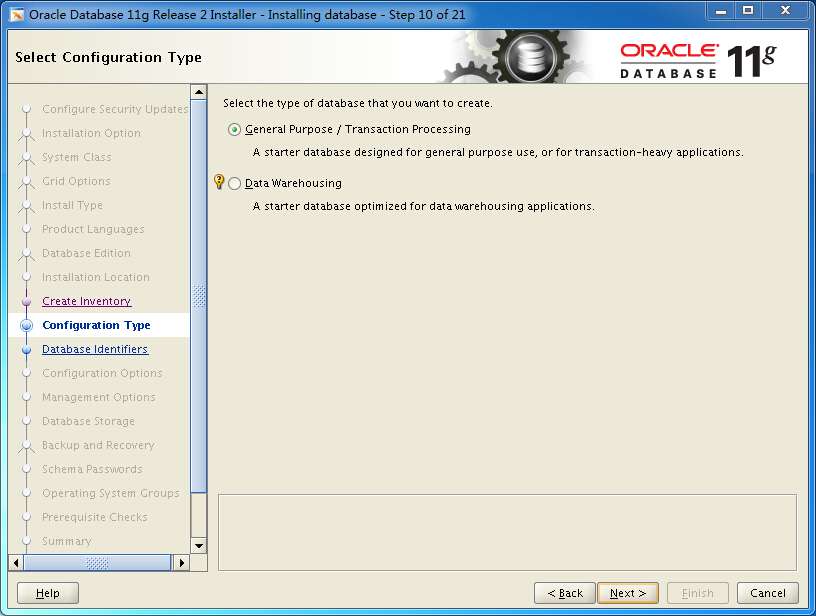
选择server版
next
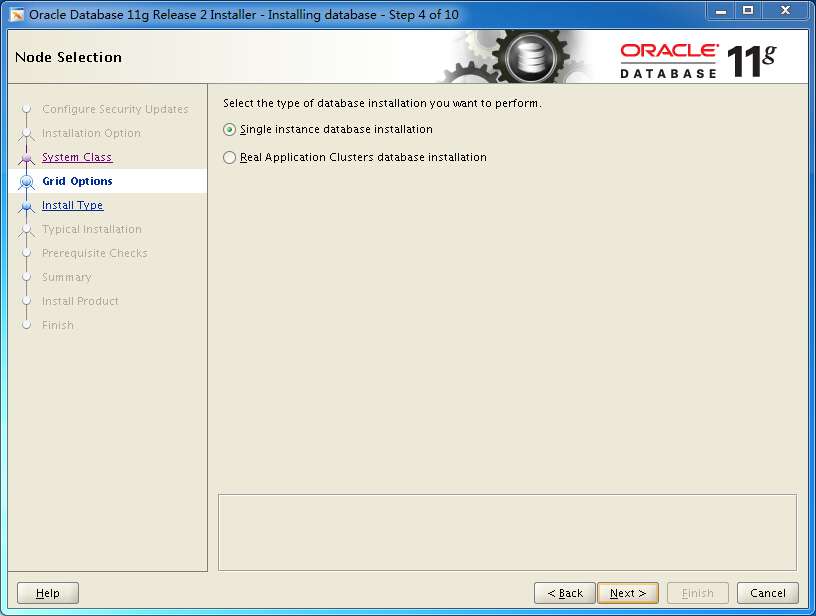
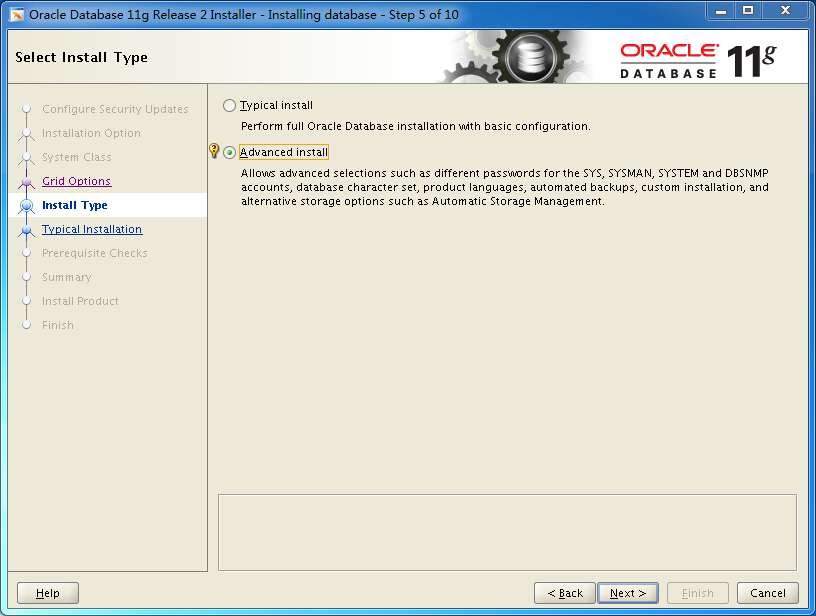
高级安装
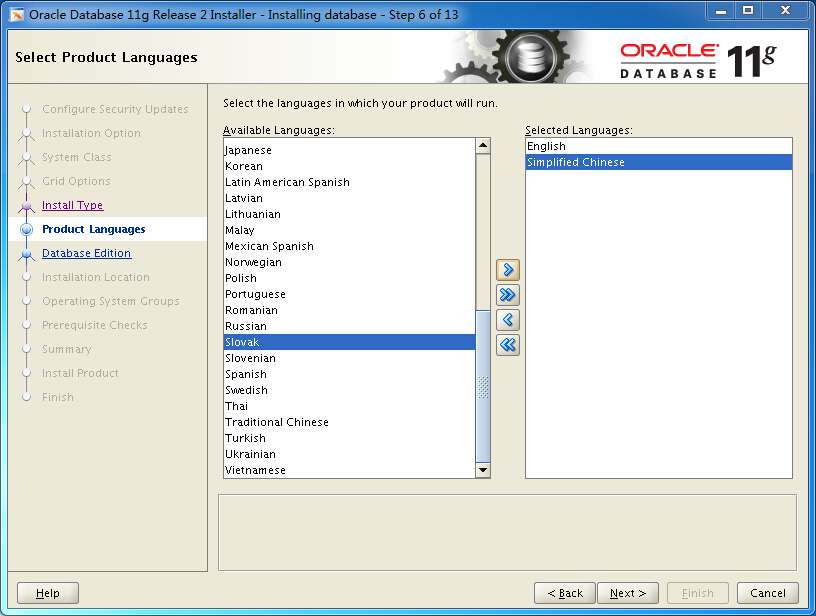
添加中文支持
next
next
next
next
next
自动内存管理

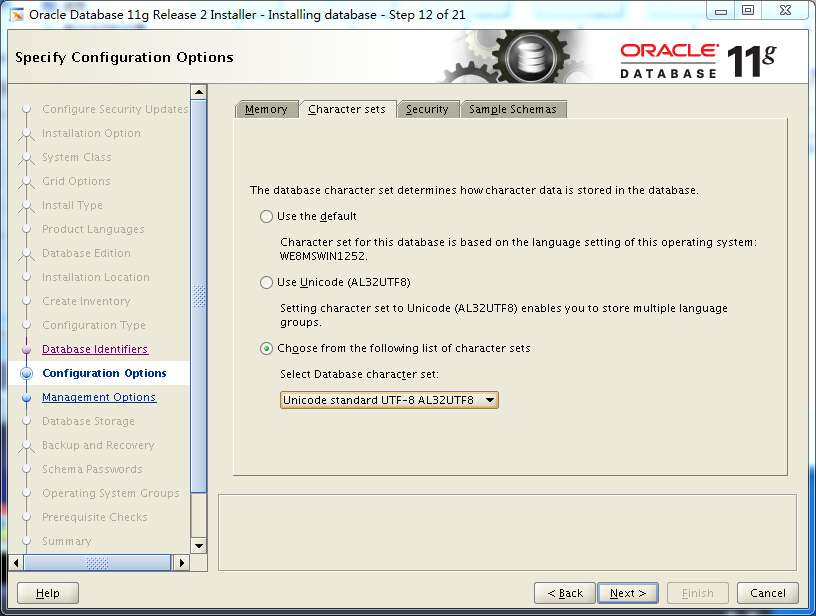
选择utf8
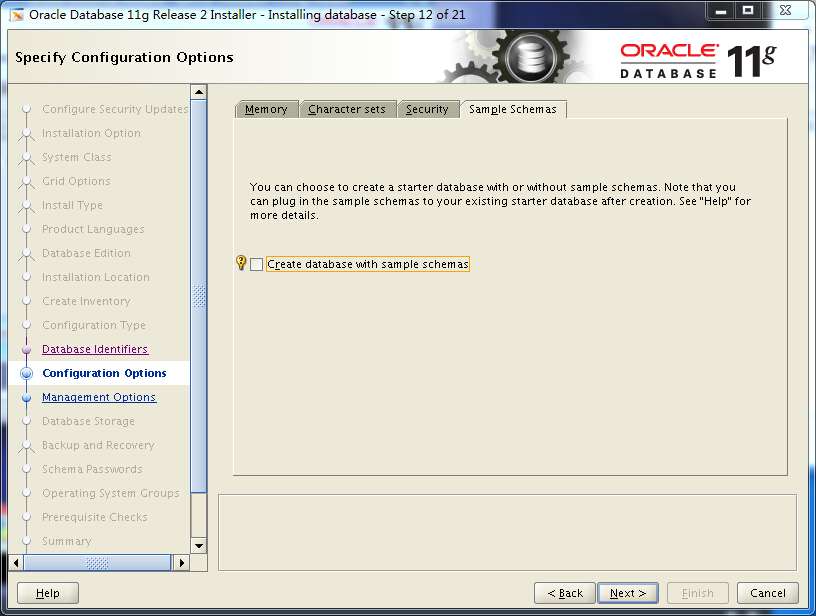
不打勾
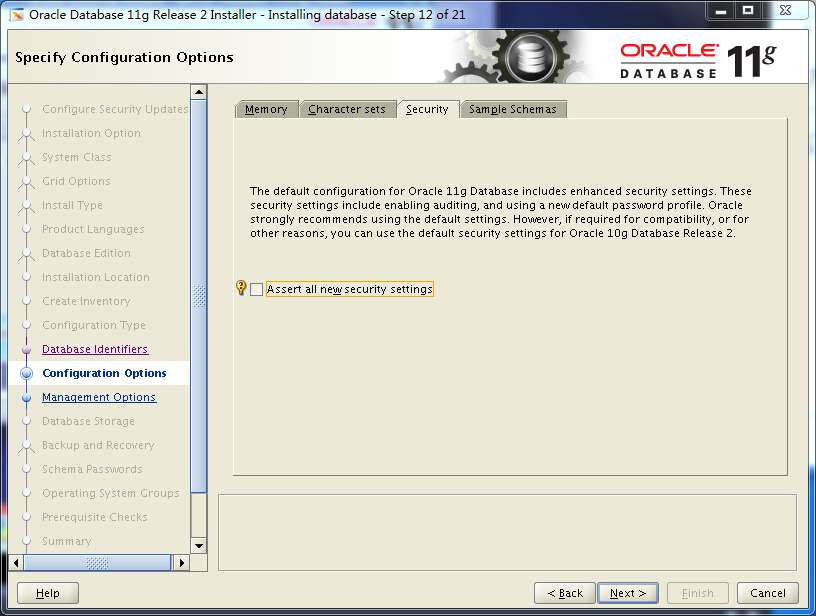
不打勾
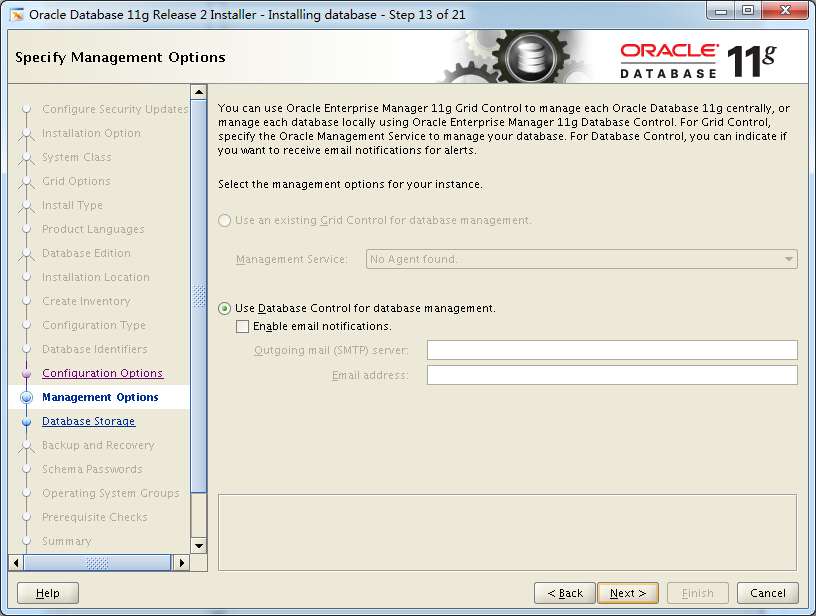
next
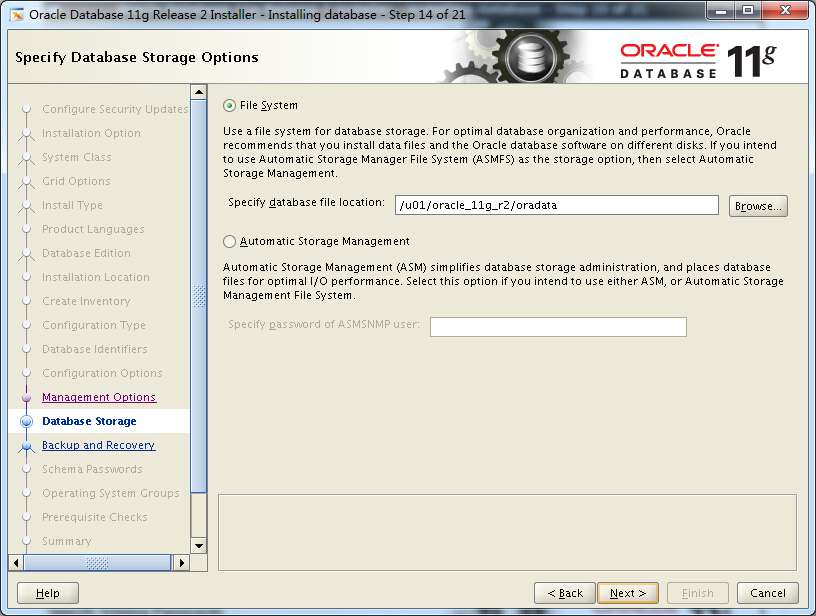
next
next
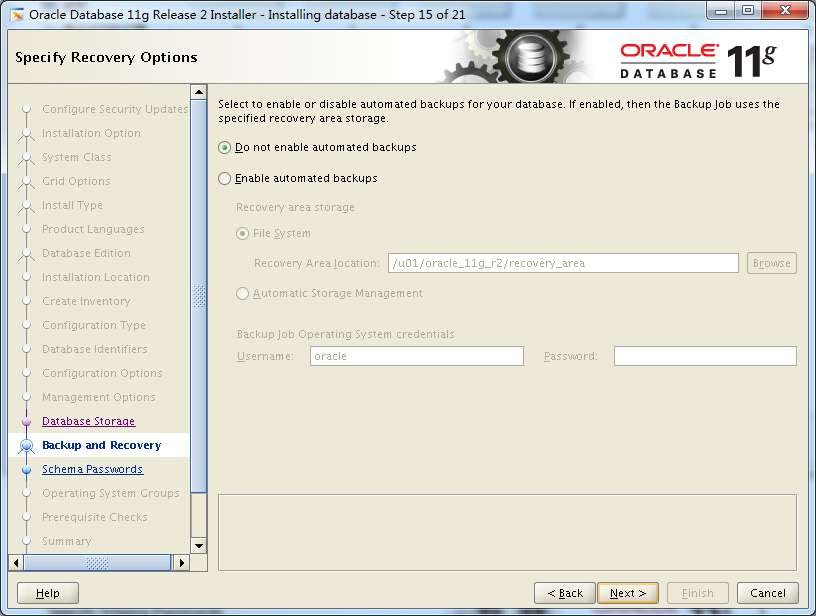
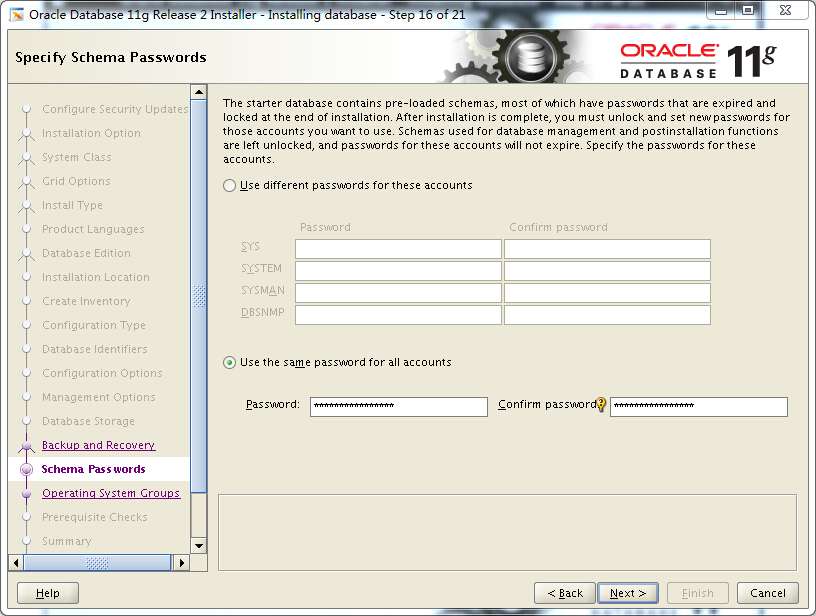
设置密码,演示方便我都设置成一样的密码
next
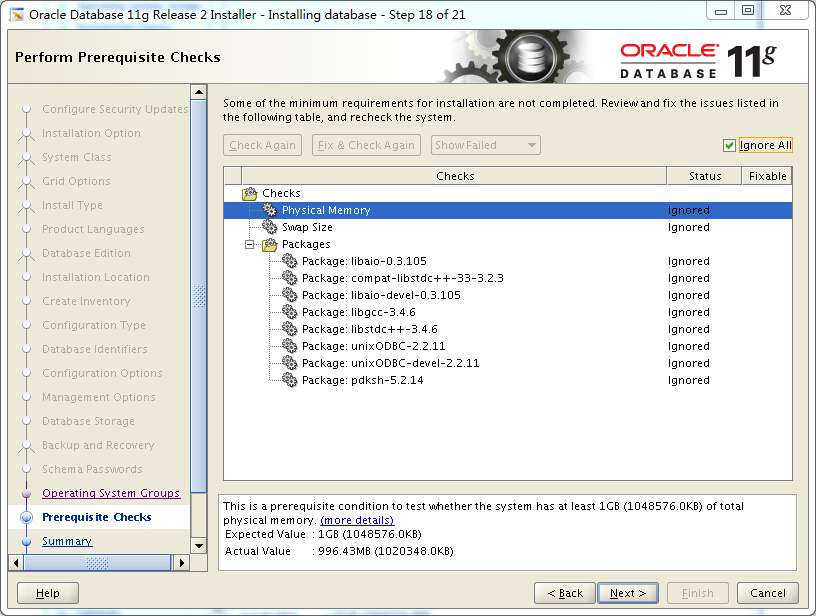
提示有误,其实已经在前面安装过了,忽略即可,lgnored all打钩,next
安装前信息总览

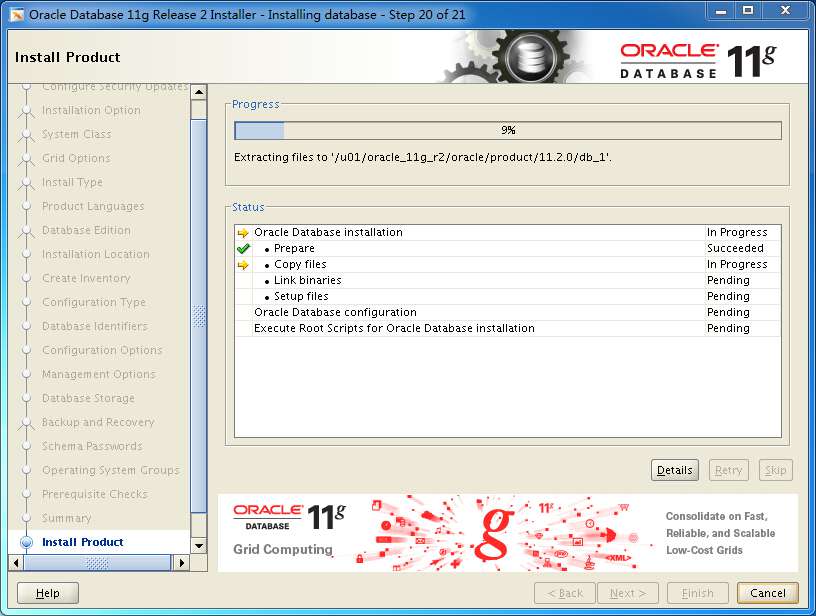
正在安装
点击OK
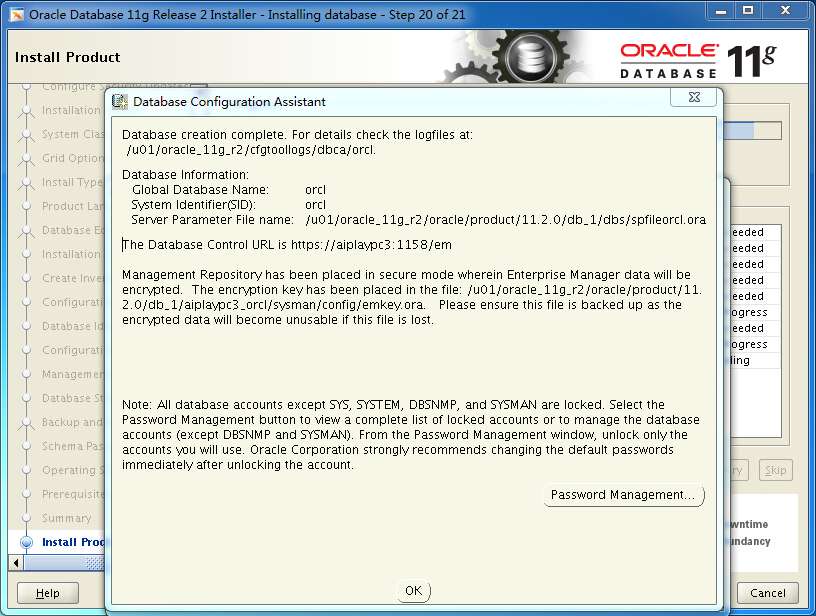
提示你以root身份运行两个脚本

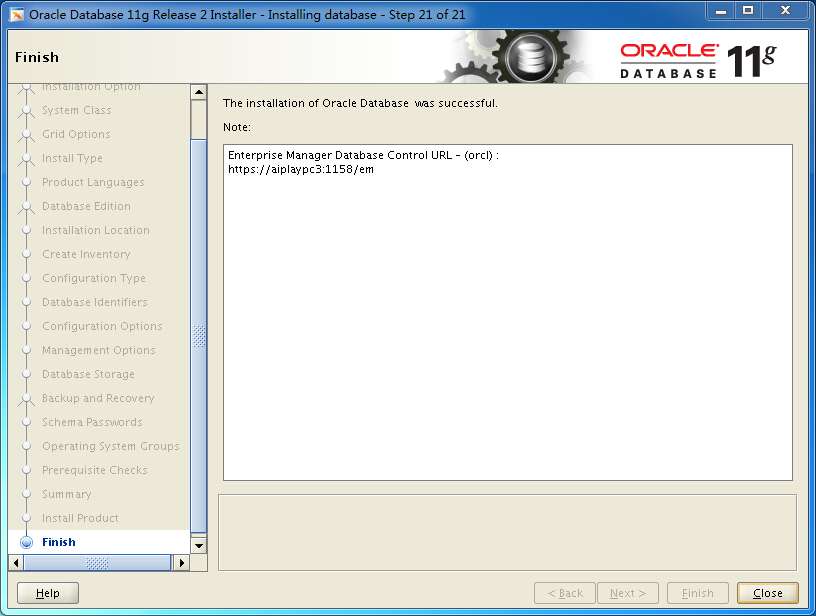
安装完成
最后的完善工作
添加启动脚本
vi /etc/oratab
orcl:/u01/oracle_11g_r2/oracle/product/11.2.0/db_1:Y(把N改成Y)
vi /u01/oracle_11g_r2/oracle/product/11.2.0/db_1/bin/dbstart
vi /u01/oracle_11g_r2/oracle/product/11.2.0/db_1/bin/dbshut
找到ORACLE_HOME_LISTNER=$1 改成 ORACLE_HOME_LISTNER=$ORACLE_HOME
然后进入cd /etc/init.d
vi oracle将下面编辑保存。
#!/bin/bash
# chkconfig: 2345 90 10
export ORACLE_BASE=/u01/oracle_11g_r2
export ORACLE_HOME=$ORACLE_BASE/oracle/product/11.2.0/db_1
export ORACLE_SID=orcl
export PATH=$PATH:$ORACLE_HOME/bin
ORCL_OWN="oracle"
# if the executables do not exist -- display error
if [ ! -f $ORACLE_HOME/bin/dbstart -o ! -d $ORACLE_HOME ]
then
   echo "Oracle startup: cannot start"
   exit 1
fi
# depending on parameter -- start, stop, restart
# of the instance and listener or usage display
case "$1" in
start)
# Oracle listener and instance startup
echo -n "Starting Oracle: "
su - $ORCL_OWN -c "$ORACLE_HOME/bin/dbstart"
touch /var/lock/subsys/oradb
su - $ORCL_OWN -c "$ORACLE_HOME/bin/emctl start dbconsole"
echo "OK"
;;
stop)
# Oracle listener and instance shutdown
echo -n "Shutdown Oracle: "
su - $ORCL_OWN -c "$ORACLE_HOME/bin/emctl stop dbconsole"
su - $ORCL_OWN -c "$ORACLE_HOME/bin/dbshut"
rm -f /var/lock/subsys/oradb
echo "OK"
;;
reload|restart)
$0 stop
$1 start
;;
*)
echo "Usage: 'basename $0' start|stop|restart|reload"
exit 1
esac
exit 0
添加上面的启动脚本到oracle下,然后chmod +x oracle给它执行权限
再
chkconfig --add oracle
添加开机启动,到此数据库就安装完成了。
添加自启动后,Centos启动会稍微慢一点,主要视服务器配置了。
如果您还有什么疑惑或建议,欢迎在下方评论区继续讨论。
如果您觉得本文还不错,欢迎分享/打赏本文。当然,如果你无视它,也不会影响你的阅读。再次表示欢迎和感谢!